Lessons From My Home EV Charger Install
3 key takeaways from putting a Level 2 EV charger in our garage.
In Volted’s introductory post, I shared my intention to walk the path of home electrification together. My own family is going through our transition to comfortable, zero-carbon living. I hope sharing parts of my personal home electrification story can offer lessons that will be valuable in your journey. In that spirit, I’d like to take a quick intermission from our multi-part series on electrification planning to share my experience installing a home EV charger.
Recently, my wife Eliza and I successfully installed a Level 2 EV charger in our garage in advance of buying our first EV. We are expecting a baby in late March, and want to bring him home in a safe, updated, and fully electrified car. On a personal level, the symbolism of his first ride being in a zero-emissions EV rather than a gas car fills me with hope for his future.
As we discussed in the last post, Level 2 chargers can replenish your EV’s battery 6x as fast as a standard plug, and is quite useful if you plan to drive your EV each day as we do. Now that our Emporia EV charger is officially up-and-running in our garage, here are the top 3 lessons learned I’d like to pass along to those considering adding one to your home:
⚡️ You may need an electric panel upgrade to support your EV charger. This can provide a great foundation for future electrification projects.
⚡️ Hardwiring directly to your electric panel is worth considering as it offers certain benefits over adding a high-voltage outlet.
⚡️ Don’t forget to cash in on financial incentives — federal, state, and local!
Your electric panel may need to be upgraded
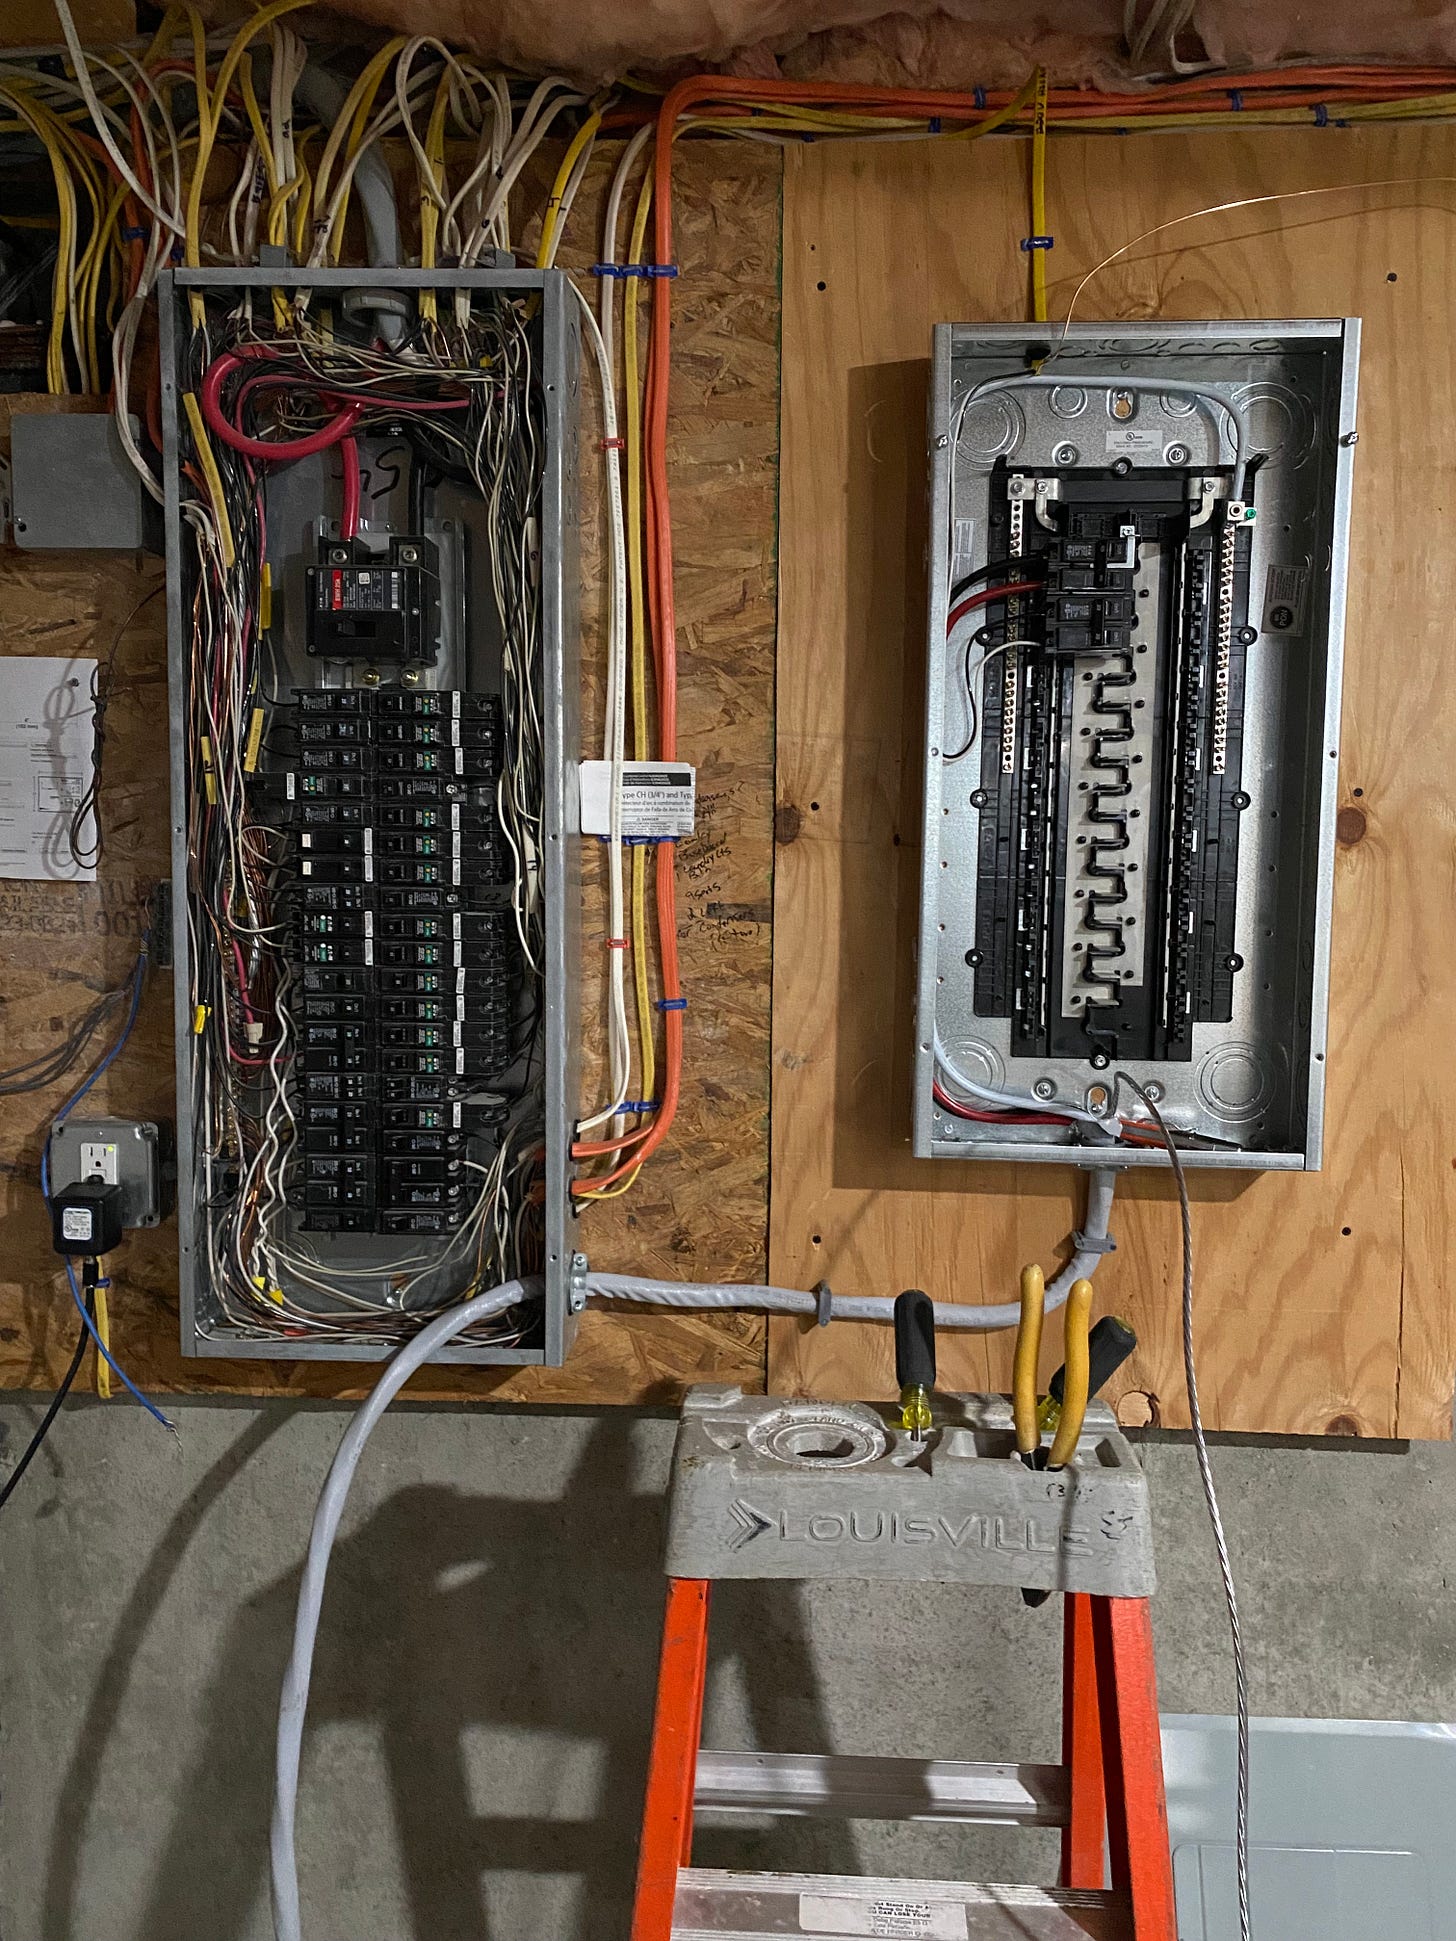
When we moved into our home last year, we learned quickly that our main electrical panel was effectively full. Meaning, there were no available circuit breaker switches for our EV charger — all of them were already being used.
Therefore, in consultation with our electrician, we decided to install an electrical subpanel at the same time that our Level 2 charger was put in.

In addition to creating the space for a new circuit breaker switch to power the charger itself, the new subpanel also gives us a foundation for future electrification projects. That is, there are now ~20 new circuit breakers we could use for appliances like heat pump water heaters or induction cookstoves. Now, we can take on these projects in confidence knowing that we have sufficient service capacity to do so without needing another costly upgrade to our panel. For reference, our subpanel added another ~$1,500 to the up-front cost of our EV charger installation, but it will be partially offset by taking advantage of available incentives discussed later in this post.
Importantly, we had previously confirmed that our main electrical panel is already rated for 200A of service — considered ideal for a fully electrified home. If you have less than 200A (see here for how to figure this out), you may also want to consider upgrading your main panel’s service level when installing your EV charger. This would be done for similar future-proofing reasons as our subpanel — to create sufficient capacity for additional electrification projects later on.
Hardwiring your charger is worth considering
I didn’t realize this myself at first, but when you install a Level 2 EV Charger at home, there are 2 ways to connect it to your electrical panel:
Plug-In. Installing a 240-volt outlet for the charger to plug into.
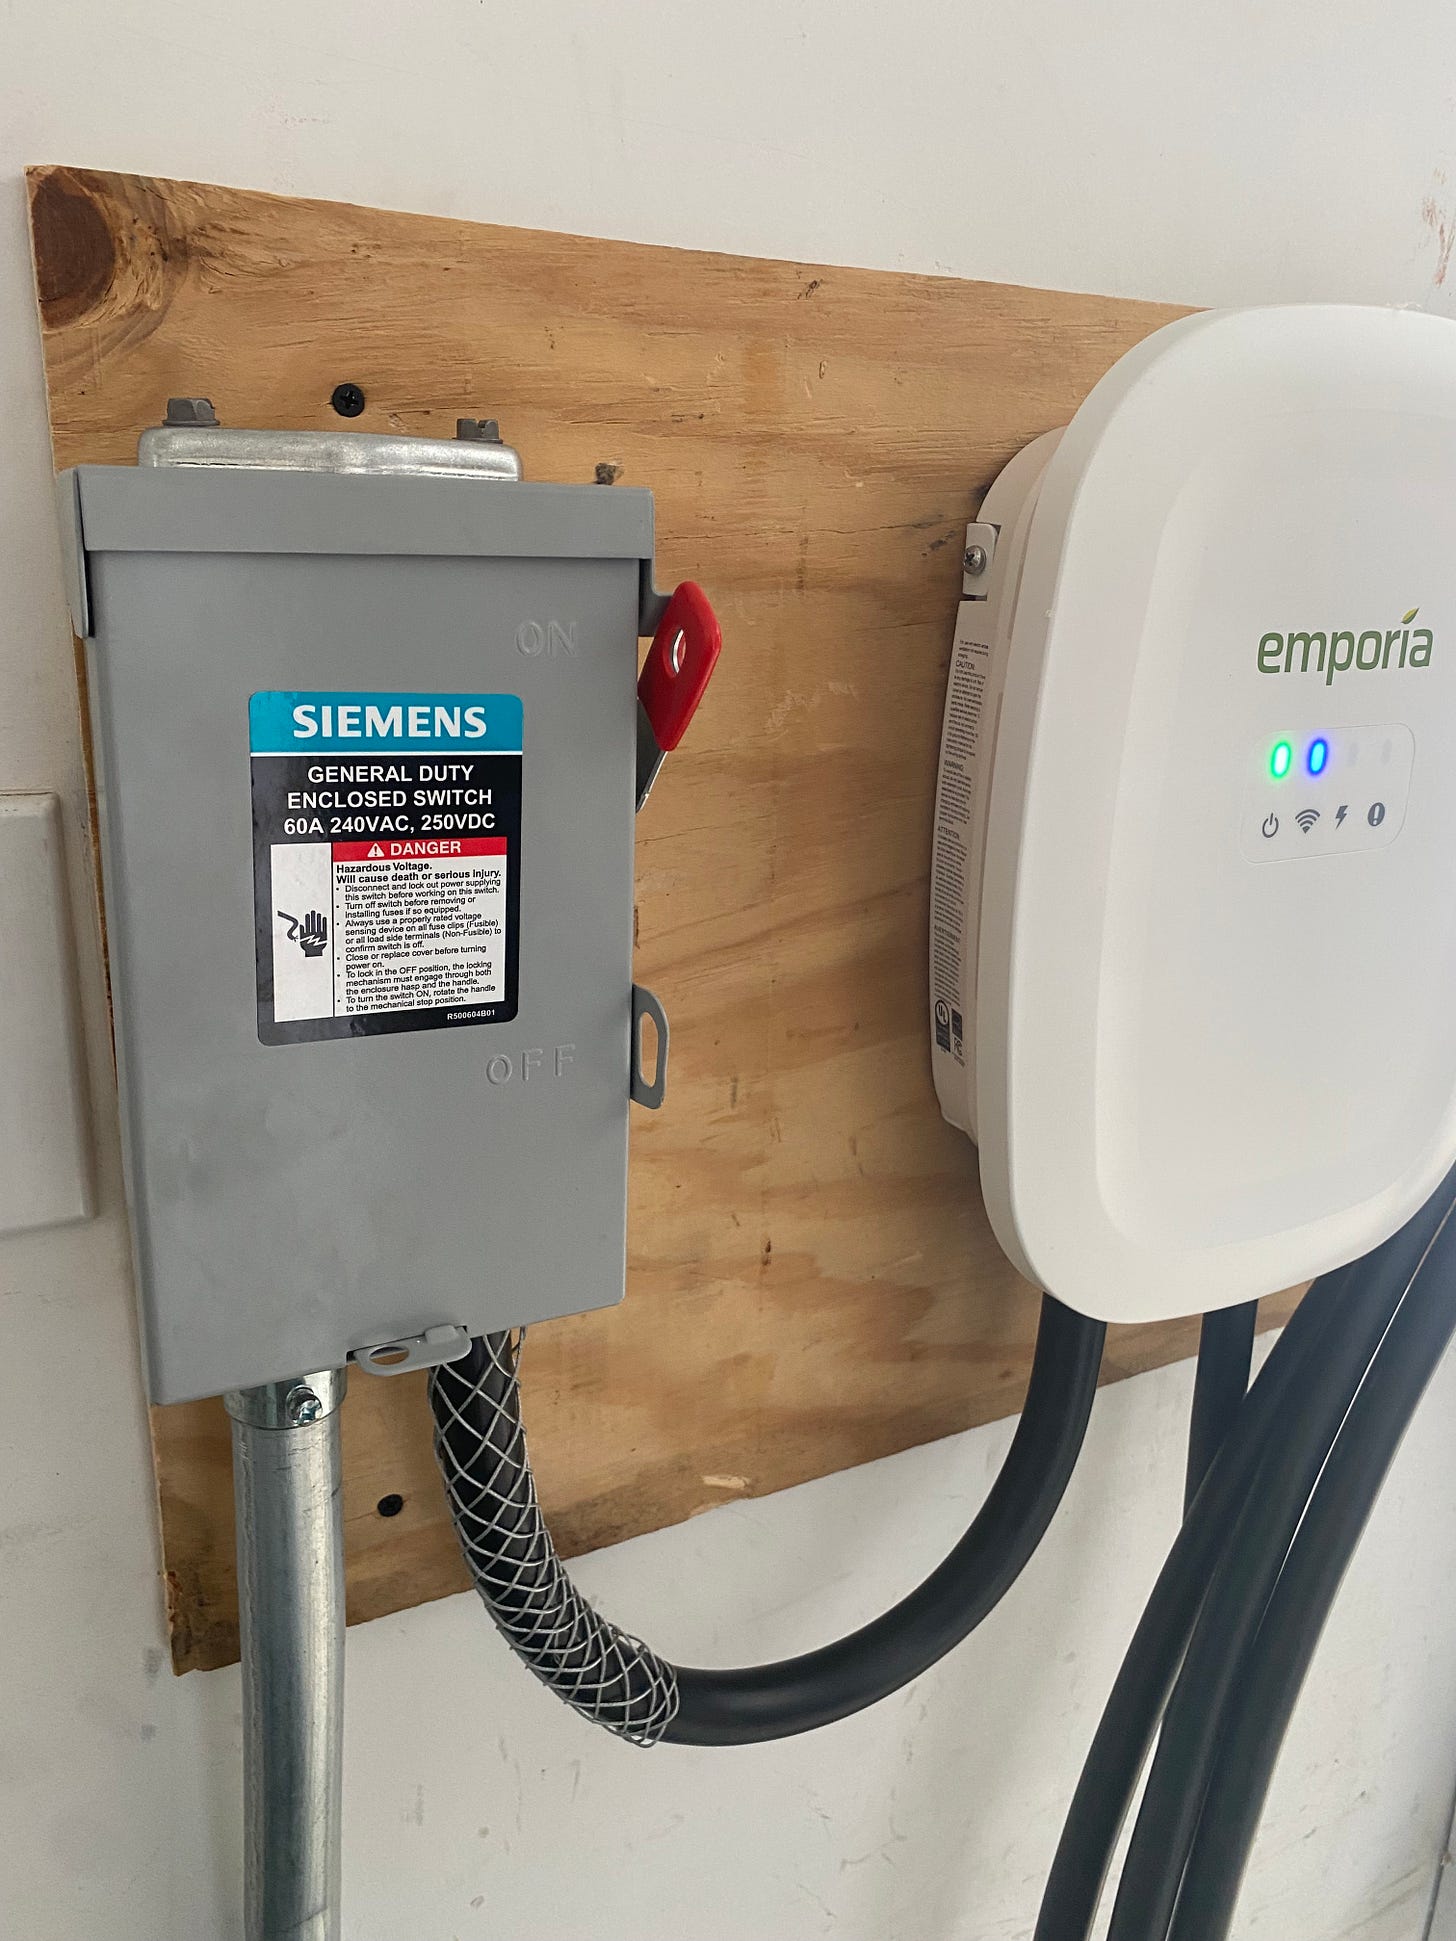
Hardwired. Wiring the Level 2 charger directly to your electrical panel.
After some thought, we decided to hardwire our EV charger rather than installing a high-voltage outlet. We did this for a few reasons:
Simpler, lower-cost installation. I learned from our electrician that new electrical codes require an additional safety component (called a GFCI breaker) when installing an outlet for an EV charger. This component apparently is expensive and has been hard for them to source. Hardwiring negates the need for this component, simplifies the install & inspection process, and results in less materials we needed to pay for.
More stable connection. Hardwiring is largely considered safer, more permanent, and less susceptible to power loss sometimes observed with an outlet install. Relatedly, if you are installing your charger outdoors, it is advisable to hardwire. This increased durability is preferable to us.
Slightly faster charging speeds. Hardwiring the charger supports an additional ~6 miles per hour of speed versus plugging in. While this may not make a huge difference given the fact we’ll be charging overnight most often, the faster charging speed could be helpful in a pinch.

Of course, plug-in may be preferable in some cases. For instance, if you already have a 240v outlet in the vicinity of where you want to put your Level 2 charger. Or, you may value the ability to take your EV charger with you if you move by simply unplugging it.
Because we have no intention to move anytime soon, and we did not already have 240v outlets installed, these “pros” of the plug-in method did not make sense for us. I’m confident that we made the right choice to hardwire for our specific situation, and this path is at least worth discussing with your electrician.
Be sure to cash in on federal, state, and local incentives
The electrification tax incentives available at the federal level via the Inflation Reduction Act (IRA) rightfully get a lot of attention due to their nationwide accessibility. However, many states and local municipalities also have rebates that can stack on top of what the federal government is offering. The process of navigating these different levels and types of incentives can be dizzying, but can significantly reduce the cost of electrifying.
Installing a Level 2 EV charger is an electrification action that is covered by many incentive programs, and not just at the federal level. Here is what our family is eligible for in Concord, MA:
Federal: Tax credit for 30% of the hardware and installation cost of an EV charger, up to $1000.
State: N/A (while MA does have incentive programs for workplace & fleet charging, there are no home EV charging incentives to my knowledge).
Local: The town of Concord offers a $250 rebate plus electricity bill credits for off-peak charging.
All in all, we are likely to save $1,250 on the cost of our home EV charger installation or roughly a quarter of the total cost. Not too shabby. If you’re planning to take on electrification projects in your home, definitely take the time to talk with your tax professional and research what state/local incentives are available where you live.
Make sure you keep all documentation related to the purchase and install of your EV charger. One important caveat I found out — cashing in on EV charger incentives also require proof of ownership of an EV. For me, this meant making a mental to-do to apply for our local rebate once we complete the purchase of our EV in the coming days and have the proof of sale in-hand.
Resources to explore:
The IRA Calculator from Rewiring America can give you more information on the EV charger tax credit as well as other federal electrification incentives available to you.
Clipper Creek has a great list of EV charger incentives by state, including information on some local programs.
What’s next?
Armed with these 3 lessons, I hope you feel more empowered to take on a Level 2 EV charger install at your home. Our family will be taking home the Hyundai IONIQ 5 shortly to use with this charger, and I will report back soon on our experience with our first EV.
Our next post will dive back into our home electrification planning series focused on space and water heating.
Onward!


Practical and clearly stated information - congrats!